Healthy No Bake Oat Snack Bars
Highlighted under: Fresh Healthy Meals Ideas
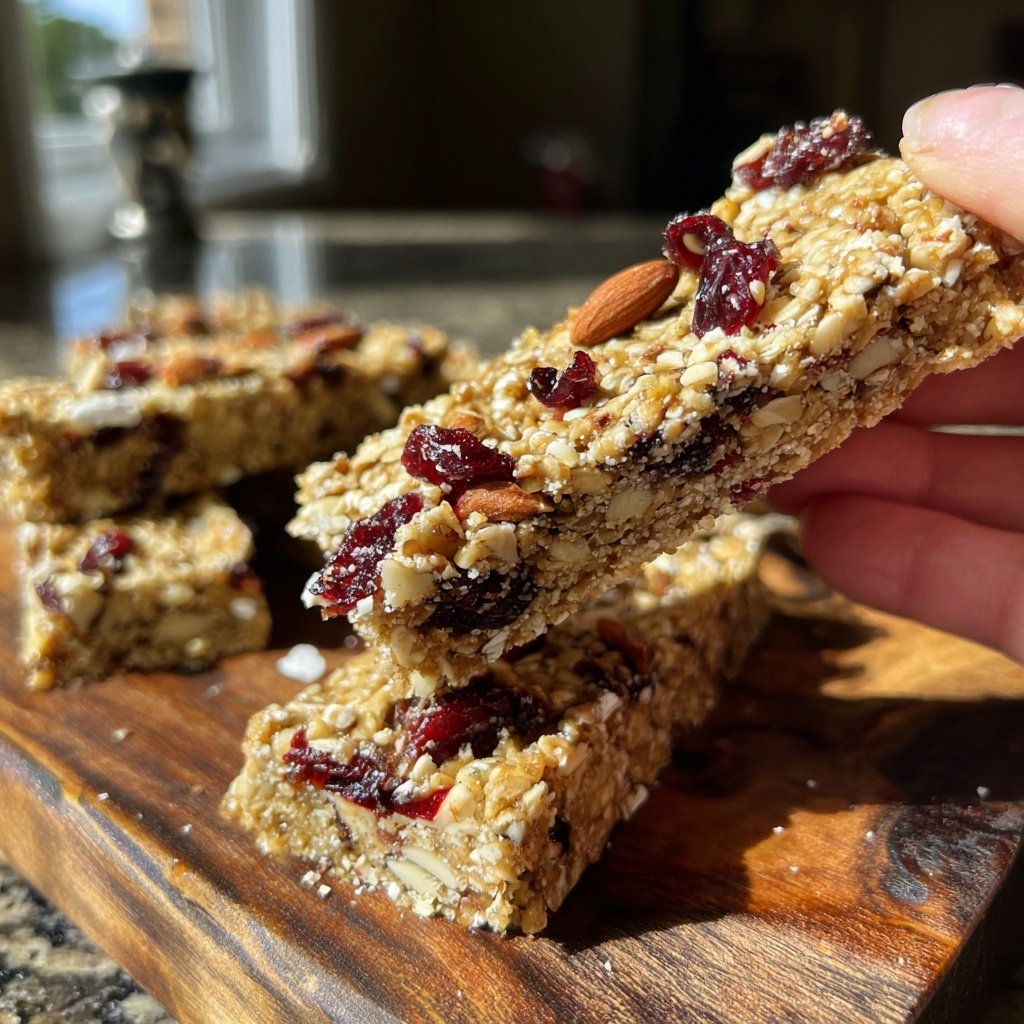
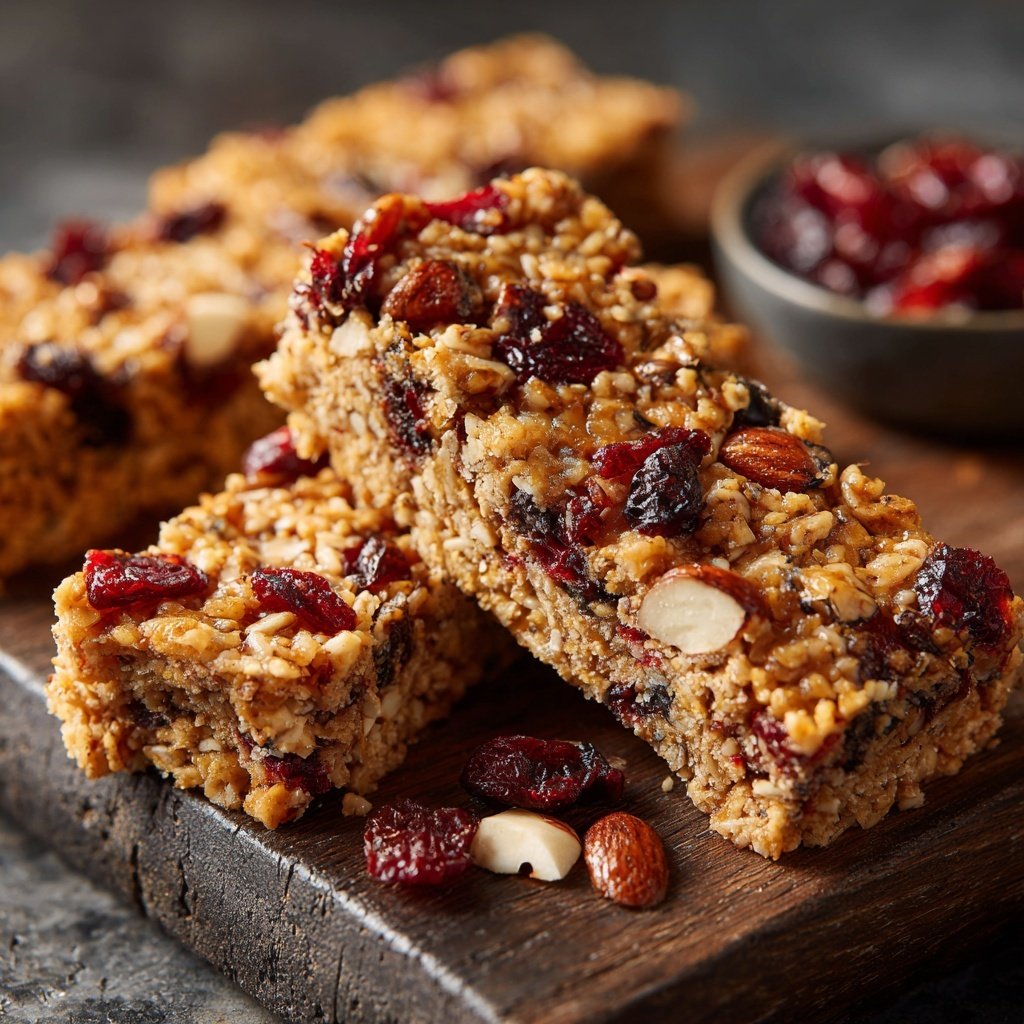
When I first tried making these Healthy No Bake Oat Snack Bars, I was amazed at how simple yet satisfying they turned out. I love the convenience they offer as a quick breakfast option or a mid-afternoon snack. Each bar is packed with wholesome ingredients, so I can feel good about what I'm eating. Plus, they take no time to prepare! I often customize them with my favorite add-ins, like dried fruits or nuts, to keep things exciting. You won't believe how delicious and nutritious these bars can be!
Creating these Healthy No Bake Oat Snack Bars has transformed my snacking habits. I remember the first time I made them—I mixed oats, nut butter, and a touch of honey together, set them in a dish, and merely waited for them to chill. The bars were chewy and flavorful, surpassing any store-bought option, while being guilt-free.
What I found particularly rewarding was the ability to control the sweetness and add nutritious elements like chia seeds or flaxseeds. These little tweaks not only boost the health benefits but also add a pleasant crunch and taste that makes every bite delightful.
Why You'll Love These Bars
- Perfect balance of sweetness from natural ingredients
- Chewy texture with a satisfying crunch
- Easy customization to suit your taste
Understanding the Ingredients
The backbone of these Healthy No Bake Oat Snack Bars is the rolled oats. They provide a hearty texture and a substantial source of fiber, which helps keep you full longer. Using high-quality oats is essential; look for gluten-free options if necessary. They also soak up moisture and bind the ingredients together, creating that perfect chewiness without the need for baking.
Almond butter or peanut butter not only adds flavor but also healthy fats and protein, making these bars an excellent snack for both energy and satiety. If you're aiming for a nut-free option, sunflower seed butter works wonderfully as a substitute. Just keep in mind that it may slightly alter the flavor, but it still delivers on creaminess and richness.
The choice between honey and maple syrup is another aspect to consider. Honey lends a stickier texture which can help bind the ingredients even more effectively, while maple syrup provides a milder flavor. Feel free to experiment with this component based on your taste preferences or dietary needs, as both serve to sweeten naturally without the need for refined sugars.
Perfecting Your Technique
When mixing your ingredients, be sure to incorporate everything evenly to ensure each bar has a consistent taste and texture. I recommend using a sturdy spatula or wooden spoon. Mixing by hand allows you to feel the consistency, but make sure not to overmix—just combine until you see no dry oats left. If the mixture feels too crumbly, adding a bit more nut butter or syrup can help bring it together.
Pressing the mixture firmly into the lined baking dish is crucial; this step ensures your bars hold together once set. Use a flat bottom of a measuring cup to pack it in tightly and evenly. If you leave air pockets, the bars may crumble when you cut them. For best results, a dish lined with parchment paper will help you lift the bars out cleanly after chilling.
Chilling is key to achieving the ideal firmness. A minimum of one hour is required in the refrigerator, but if you have time, letting them sit for two hours will yield a better texture. Once set, cutting with a sharp knife or a pizza cutter, if you're in a hurry, will help you achieve smooth edges and prevent the bars from crumbling apart.
Ingredients
For the Bars
- 2 cups rolled oats
- 1 cup almond butter (or peanut butter)
- 1/2 cup honey or maple syrup
- 1/2 cup chocolate chips (optional)
- 1/4 cup chia seeds (optional)
- 1/4 cup dried fruit, chopped (optional)
Mix and match your favorite additions to make these bars uniquely yours!
Instructions
Prepare the Mixture
In a large mixing bowl, combine the rolled oats, almond butter, honey, and any optional ingredients like chocolate chips or dried fruit. Stir until fully incorporated.
Shape the Bars
Transfer the mixture to a lined baking dish, pressing it down firmly to create an even layer. The firmer you pack it, the better the bars will hold together.
Chill and Cut
Place the baking dish in the refrigerator for at least 1 hour. Once set, remove from the dish and cut into 12 bars.
Store bars in an airtight container in the refrigerator for up to a week for the best freshness.
Pro Tips
- Feel free to experiment with different nut butters and sweeteners to find your favorite combination. You can also sprinkle some sea salt on top before chilling for added flavor.
Storage and Shelf Life
These no-bake oat bars can be stored in an airtight container in the refrigerator for up to a week. If you want to make a larger batch, consider wrapping each bar individually in parchment paper for easy grab-and-go snacks. This method of storage also helps maintain their texture without getting too soft or sticky.
For longer storage, these bars freeze remarkably well. Place them in a zip-top bag, leaving some air to prevent freezer burn, and they can last for up to three months. Just make sure to separate them with parchment paper so they don’t stick together, making it easy to take out the number you need at any given time.
Whenever you're ready to enjoy a frozen bar, simply take it out and let it sit at room temperature for about 10-15 minutes, or microwave it for 10-15 seconds to soften slightly. This ensures you have a delicious, fresh-tasting snack in a pinch.
Creative Variations
Feel free to customize your oat bars with various mix-ins to lighten or enhance the flavors. For a tropical twist, try adding shredded coconut and chopped dried mango. If you prefer a more decadent experience, consider incorporating cocoa powder along with your chocolate chips for a richer chocolate flavor throughout the bars.
If you’re looking to boost the nutritional value, consider adding protein powder or ground flaxseeds. Just keep in mind that adding dry ingredients may require a slight adjustment in the liquid components to maintain the right consistency. A tablespoon or two of nut butter or syrup can balance it out nicely.
For those who enjoy a bit of spice, a dash of cinnamon or nutmeg can elevate the flavor profile without overpowering the core ingredients. You can even experiment with extracts like vanilla or almond for an added depth of flavor that complements the sweetness from the honey or maple syrup.
Questions About Recipes
→ Can I substitute the almond butter?
Yes, you can use any nut butter or even sun butter for a nut-free version.
→ How long do these bars last?
They can be stored in the refrigerator for up to a week and still taste delicious!
→ Can I freeze these snack bars?
Absolutely! They can be frozen for up to 3 months. Just wrap them individually for easy snacking later.
→ Are these bars gluten-free?
Yes, as long as you use certified gluten-free oats, these bars are gluten-free!
Healthy No Bake Oat Snack Bars
Created by: Cecilia Grant
Recipe Type: Fresh Healthy Meals Ideas
Skill Level: Beginner
Final Quantity: 12 bars
What You'll Need
For the Bars
- 2 cups rolled oats
- 1 cup almond butter (or peanut butter)
- 1/2 cup honey or maple syrup
- 1/2 cup chocolate chips (optional)
- 1/4 cup chia seeds (optional)
- 1/4 cup dried fruit, chopped (optional)
How-To Steps
In a large mixing bowl, combine the rolled oats, almond butter, honey, and any optional ingredients like chocolate chips or dried fruit. Stir until fully incorporated.
Transfer the mixture to a lined baking dish, pressing it down firmly to create an even layer. The firmer you pack it, the better the bars will hold together.
Place the baking dish in the refrigerator for at least 1 hour. Once set, remove from the dish and cut into 12 bars.
Extra Tips
- Feel free to experiment with different nut butters and sweeteners to find your favorite combination. You can also sprinkle some sea salt on top before chilling for added flavor.
Nutritional Breakdown (Per Serving)
- Calories: 200 kcal
- Total Fat: 10g
- Saturated Fat: 2g
- Cholesterol: 0mg
- Sodium: 50mg
- Total Carbohydrates: 25g
- Dietary Fiber: 3g
- Sugars: 10g
- Protein: 5g